
This was not that difficult to do, I spent a fair bit of time measuring and comparing the MK1 and Mk3 seats to make sure I could get at least the same amount of seat travel, as it turns out I actually got more. The Mk1 seats have 5.5" of travel and I ended up with 7.5" of travel on the MK3 seats. Much time was also spent working out the best way to get the brackets off the seats. The first seat took about a day to fit, the second took about 2hrs. Using this guide it should be possible to do the whole job easily in a day or even less depending on your skill level and tools.
This picture shows the seats side by side MK1 on the right and MK3 seat on the left.
As you can see the brackets are different and the runners longer. What you need to do is remove the brackets from both the seats and fit the MK1 brackets to the MK3 seats.
The brackets on the MK1 are held on by a rivet and a spot weld ( circled ). With the seat upside down, centre punch accurately as possible the centre of the spot weld and the head of the rivet and drill them out. Start with a small drill and work up to the required size ( about 8mm ). Once drilled out you should be able to remove the bracket ( might need a tap with a hammer), try to get the brackets off undamaged. Remove all 4 brackets using this method, make a note of which bracket goes where as they need to go onto the MK3 seats in the same orientation.

Ignore the rear brackets they do not need removed as they will be cut off when the rails are shortened. The front brackets are held on with a spot weld and a locating pin that doubles as a rivet.

With the seat the correct way up slide the runner as far forward as it will go and centre punch the head of the rivet and drill it out enough to remove the head. Take care not to make the hole in the runner too big (again about 8mm). Turn the seat upside down and repeat the process for the spot weld. Then remove the bracket. Repeat this process for the other front bracket.
Next job is to shorten the rails at the back. On the outside ( furthest away from the centre console ) rail measure75mm from the end of the rail ( not from the bracket ) and mark the rail. On the inside rail, measure 110mm from the end of the rail ( not from the bracket ) and mark the rail. White lines across the rails in the picture show where they are going to be cut. I used a hacksaw to cut them.

I used 8mm stainless bolts to secure the correct brackets to the rails. Use the front holes the front holes in the rails and brackets.

Next, bolt the rear brackets into the car in the correct places. Fit the seat into the car and secure temporarily using the front brackets. Mark the rails where the rear brackets will go. Remove the seat and brackets from the car. I then drilled the rails and used the rearmost holes in the brackets to bolt them to the rails using 8mm stainless bolts.
The MK3 seats don't have a return spring, so I used the spring from the MK1 seats. It hooks onto the arm on the MK1 bracket and all you need to do is drill a hole in the metal seat base of the MK3 seat and hook the spring in like this

The seat belt fixed mounts can be removed from the MK3 seats as they will not fit the MK1 seatbelts. They are held on by 1 bolt under the plastic trim. You may want to clean up and paint the MK1 brackets, as you can see these ones are a bit rusty, cleaned up and sprayed with satin black they look fine
I fitted the seats like this and used them for a while, until I was sure I was happy with the positioning of them. I then removed the seats and welded the brackets using the 2nd hole as a plug weld.
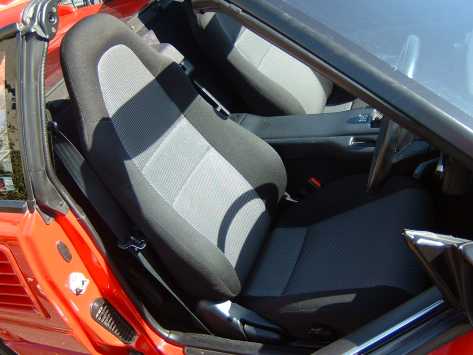
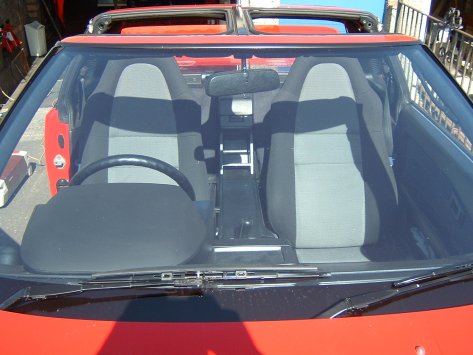
I've found them to be very comfortable and supportive, much the same adjustments as the MK1 ( although the height adjustment is better than the MK1 ) This is what they look like in my car, I'm very pleased with the mod, not that difficult to do and wasn't expensive. I used a couple of spare MK1 seats to get the brackets & return springs and have retained my original seats so that I can change back easily ( takes about 15mins a seat).

Jim Lawson 30/08/2005